
Introduction
Whether you are planning to create a photography website or just want to showcase an image portfolio, organizing photos can be a cumbersome job most of the time.
Since you are loaded with lots of photos like lots, so you might be wondering what can be a quick solution to this problem?
If the answer is yes, then the filterable gallery is what you are looking for. It allows you to group your photos based on certain categories. This widget comes with a variety of styling options to showcase your portfolio stunningly.
Therefore, in this tutorial, we will be creating a filterable gallery using Filterable Gallery widget of Elementor Addon Elements.
Key Takeaways
- Understand how a filterable gallery helps organize and display images based on categories.
- Learn how to use the Filterable Gallery widget from Elementor Addon Elements—no coding required.
- Follow simple steps to add, categorize, and display images in an interactive layout.
- Customize layout, image size, overlay effects, and filter styles to match your website’s branding.
- Explore lightbox functionality, masonry layout, and column adjustments for better user experience.
How to Create a Filterable Gallery in Elementor
Step 1: Install and Activate Plugin
In order to use the Filterable Gallery Widget, you first have to install and activate the Elementor Addon Elements Plugin.
Step 2: Add Filterable Gallery widget
So, to create a filterable gallery with Elementor, open the Elementor editor. Then just drag and drop the Filterable Gallery widget.

Step 3: Customizing Content Tab
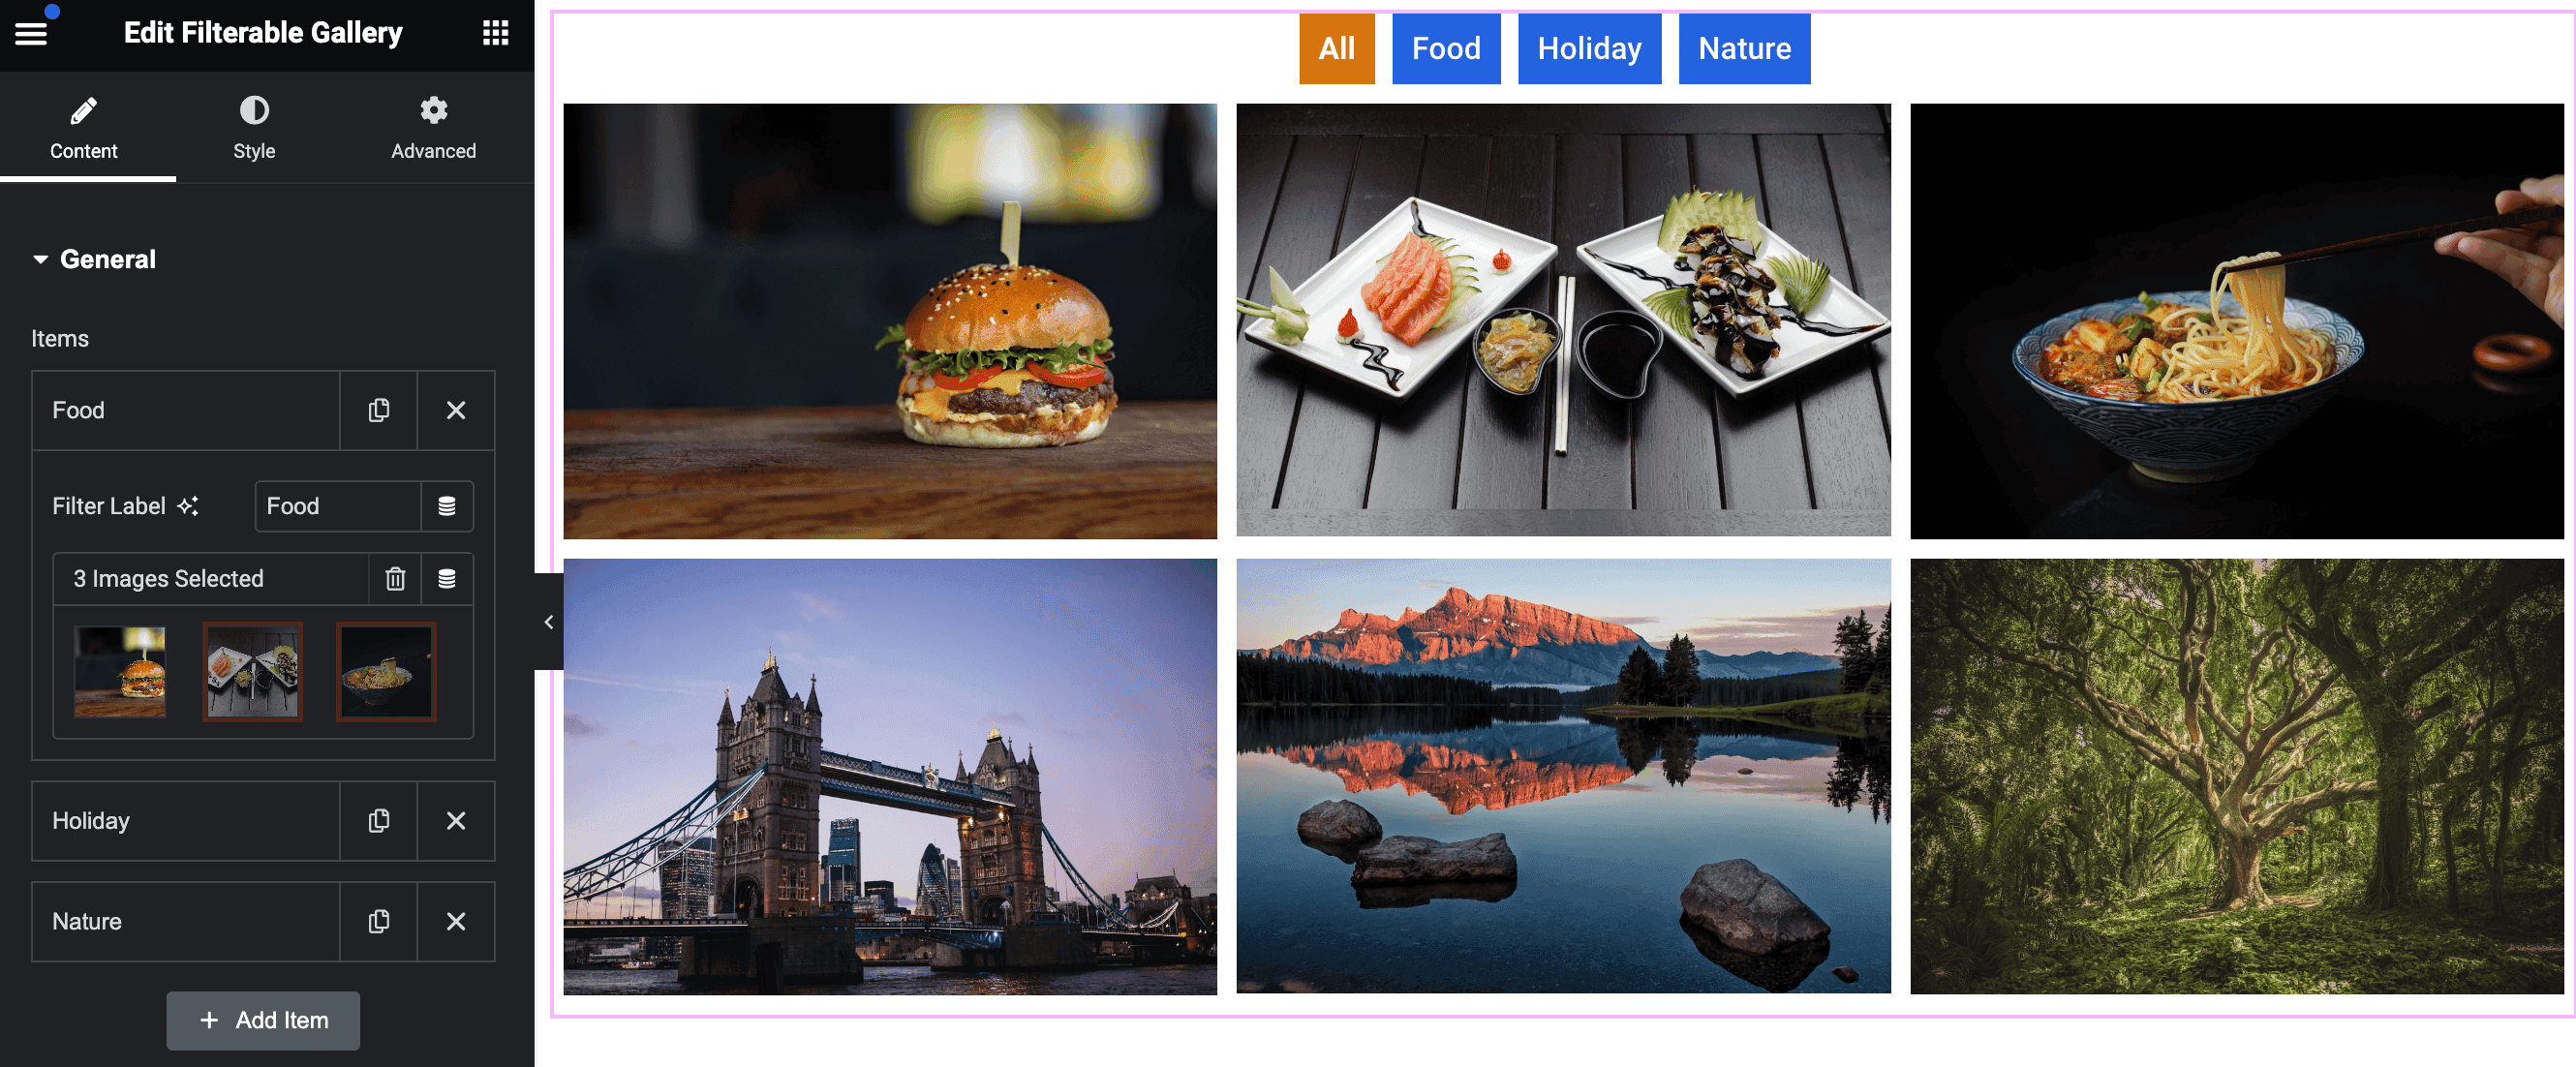
General Section: This is the first section under the content tab. Here, we will be adding images to the gallery. To add more filters just click on the ADD item button. By clicking on each filter item, you can also add multiple images to it and can assign names to the filters.
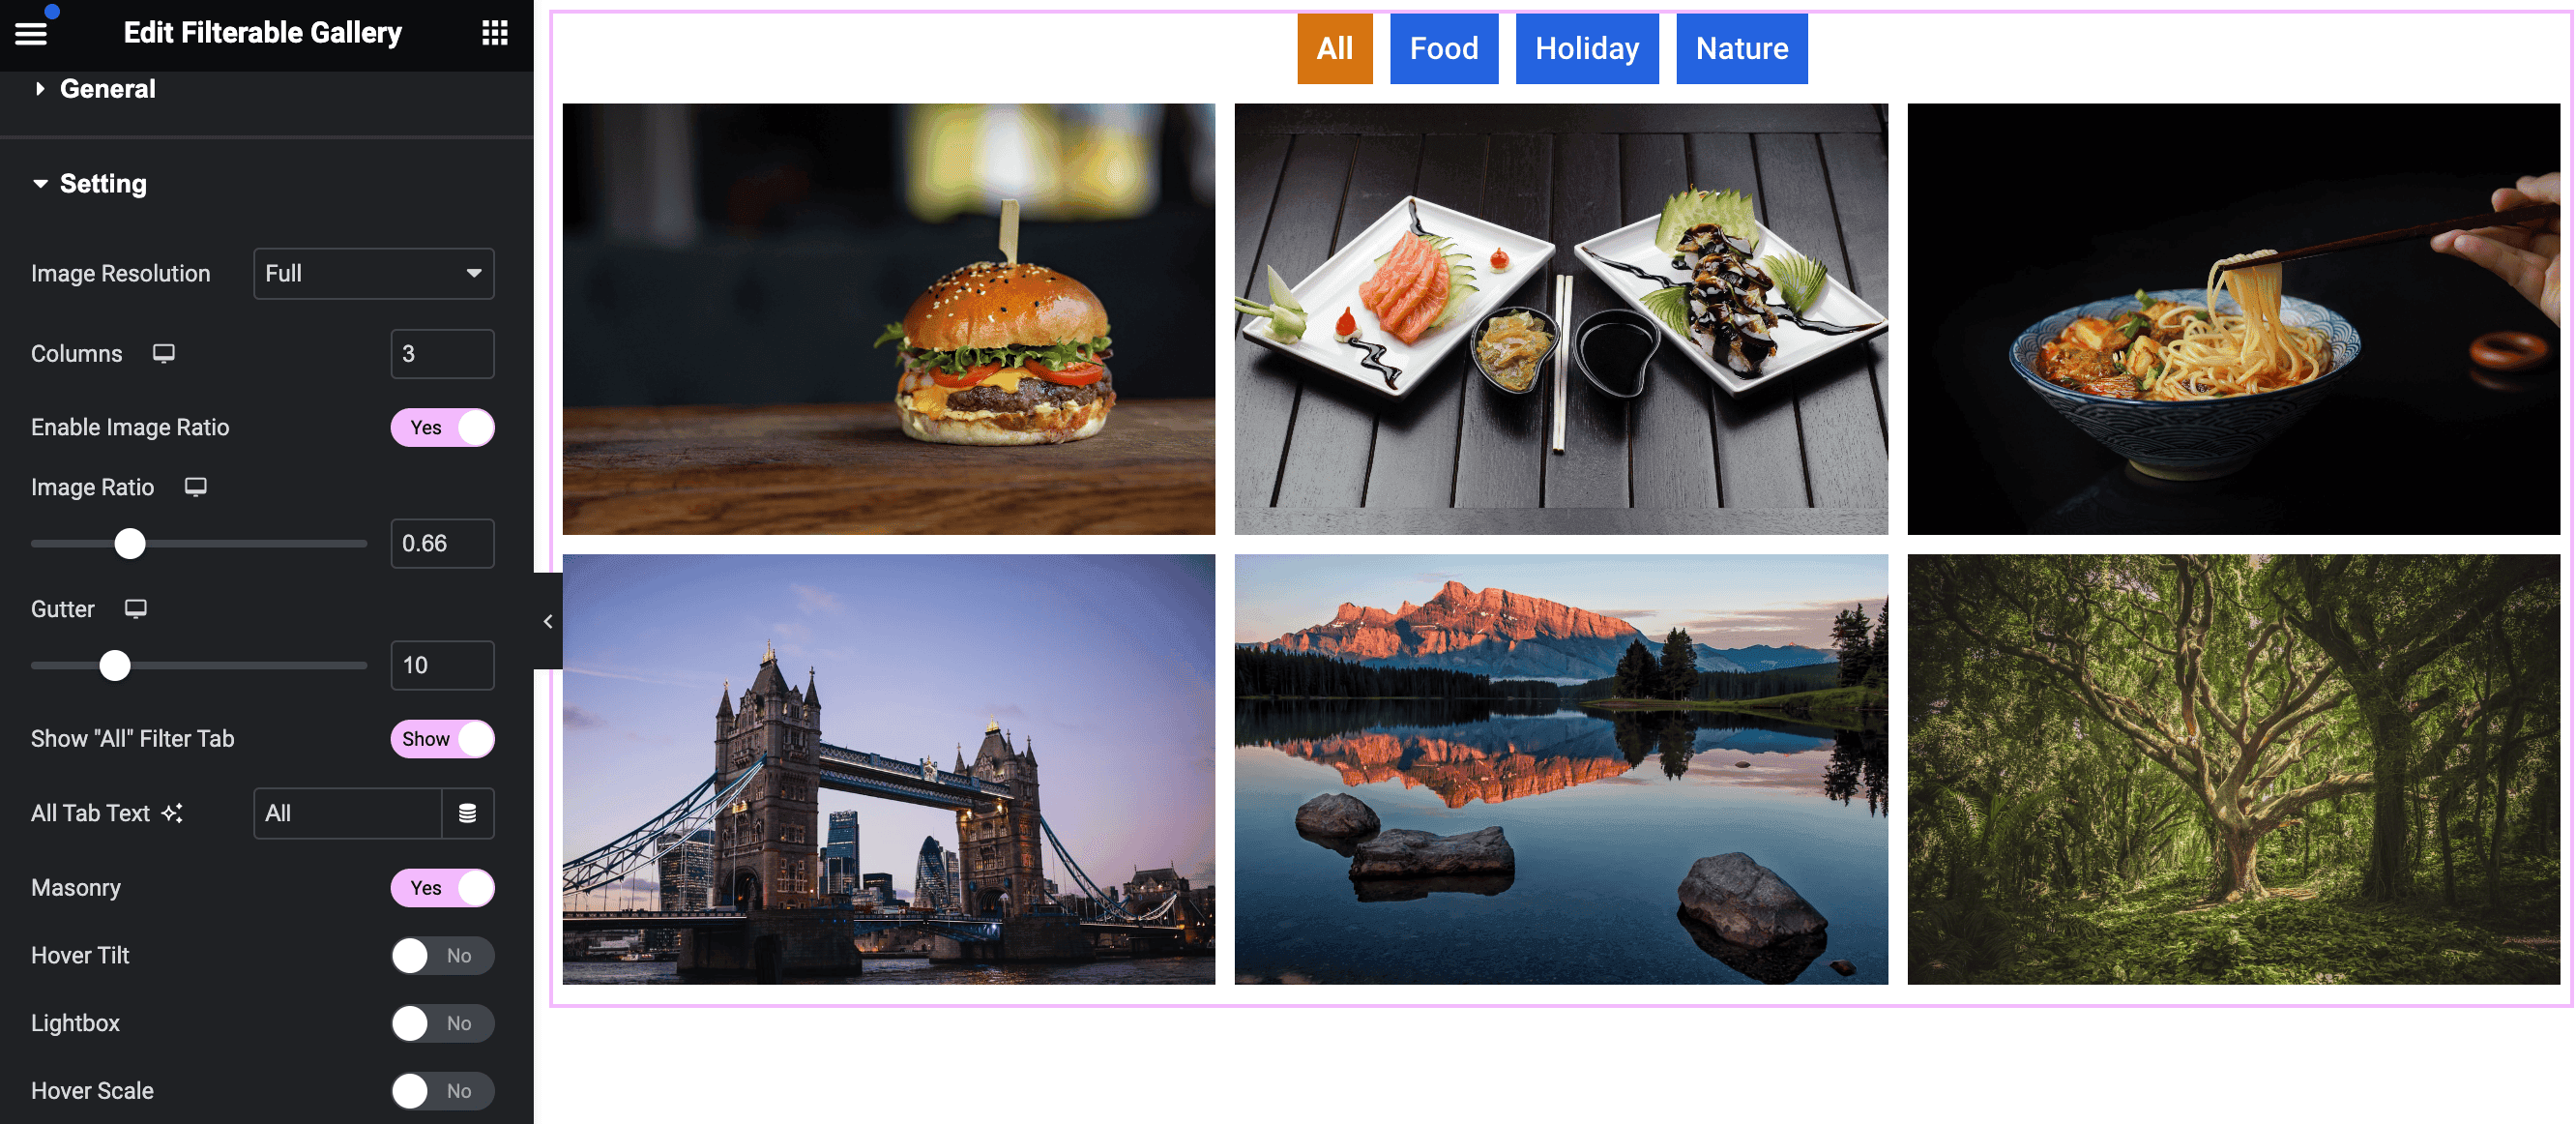
Setting Section: Under this section, you will find options to customize the images of the gallery. You can adjust the image size and the ratio accordingly.
Also, Enable or disable the “All” filtering option by toggling the All Filter tab.
Furthermore, you can also enter the number of columns you want on your website. Enable Masonry’s option to display images seamlessly. To allow images to open in a pop window you can enable the Lightbox option.
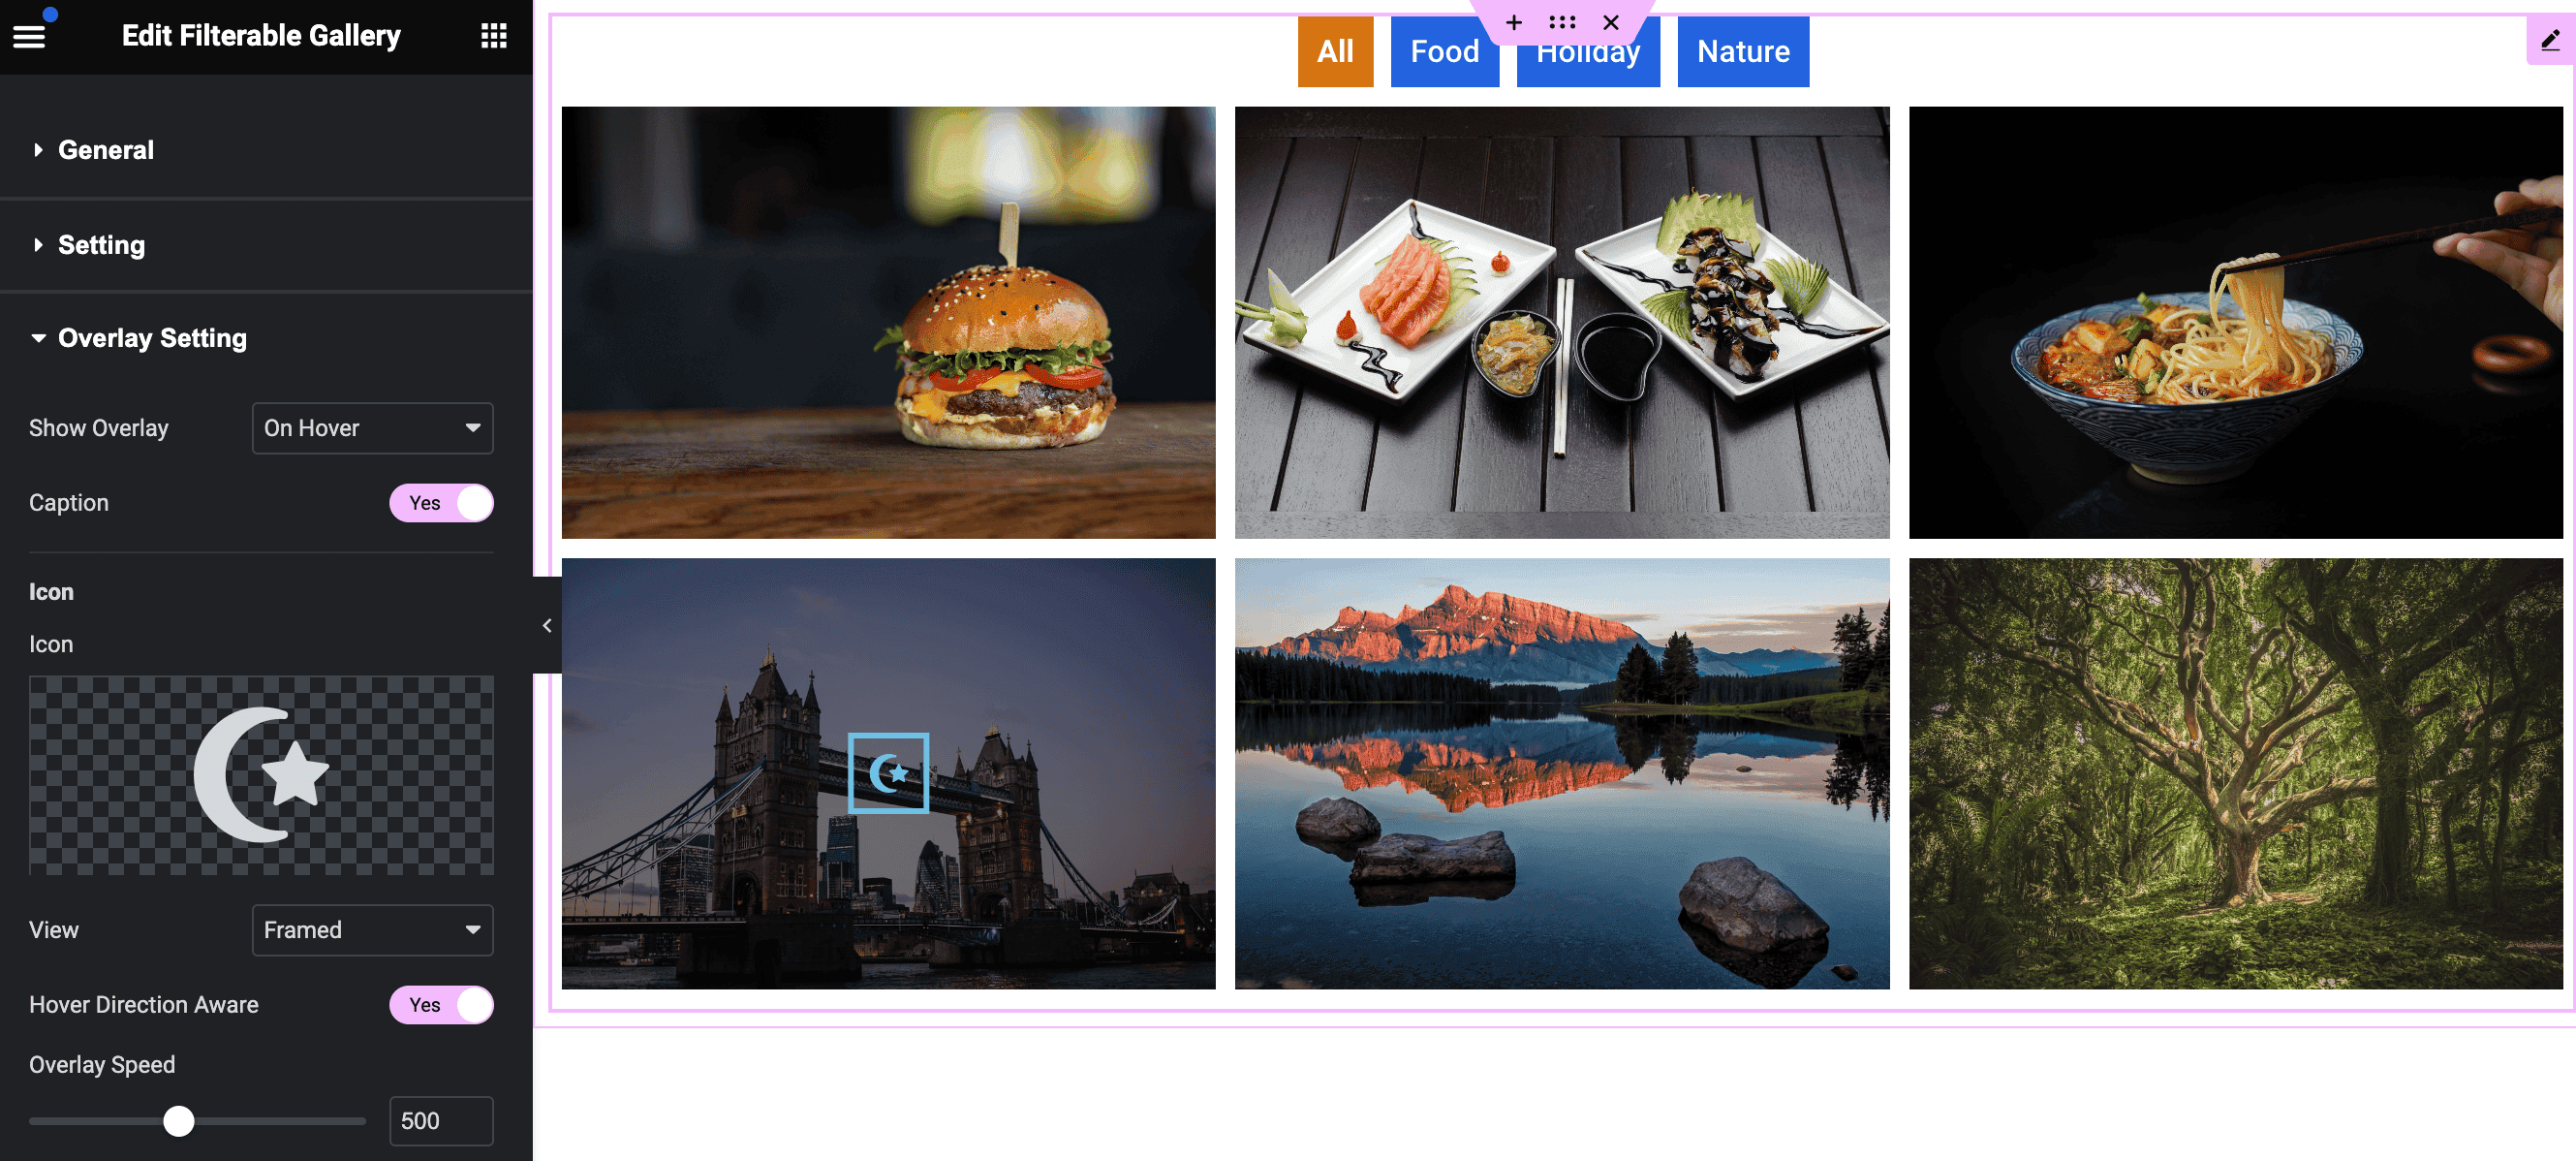
Overlay Setting: In this section, you will get options to add an overlay effect to the images. More options are also available to adjust the overlay speed and direction.
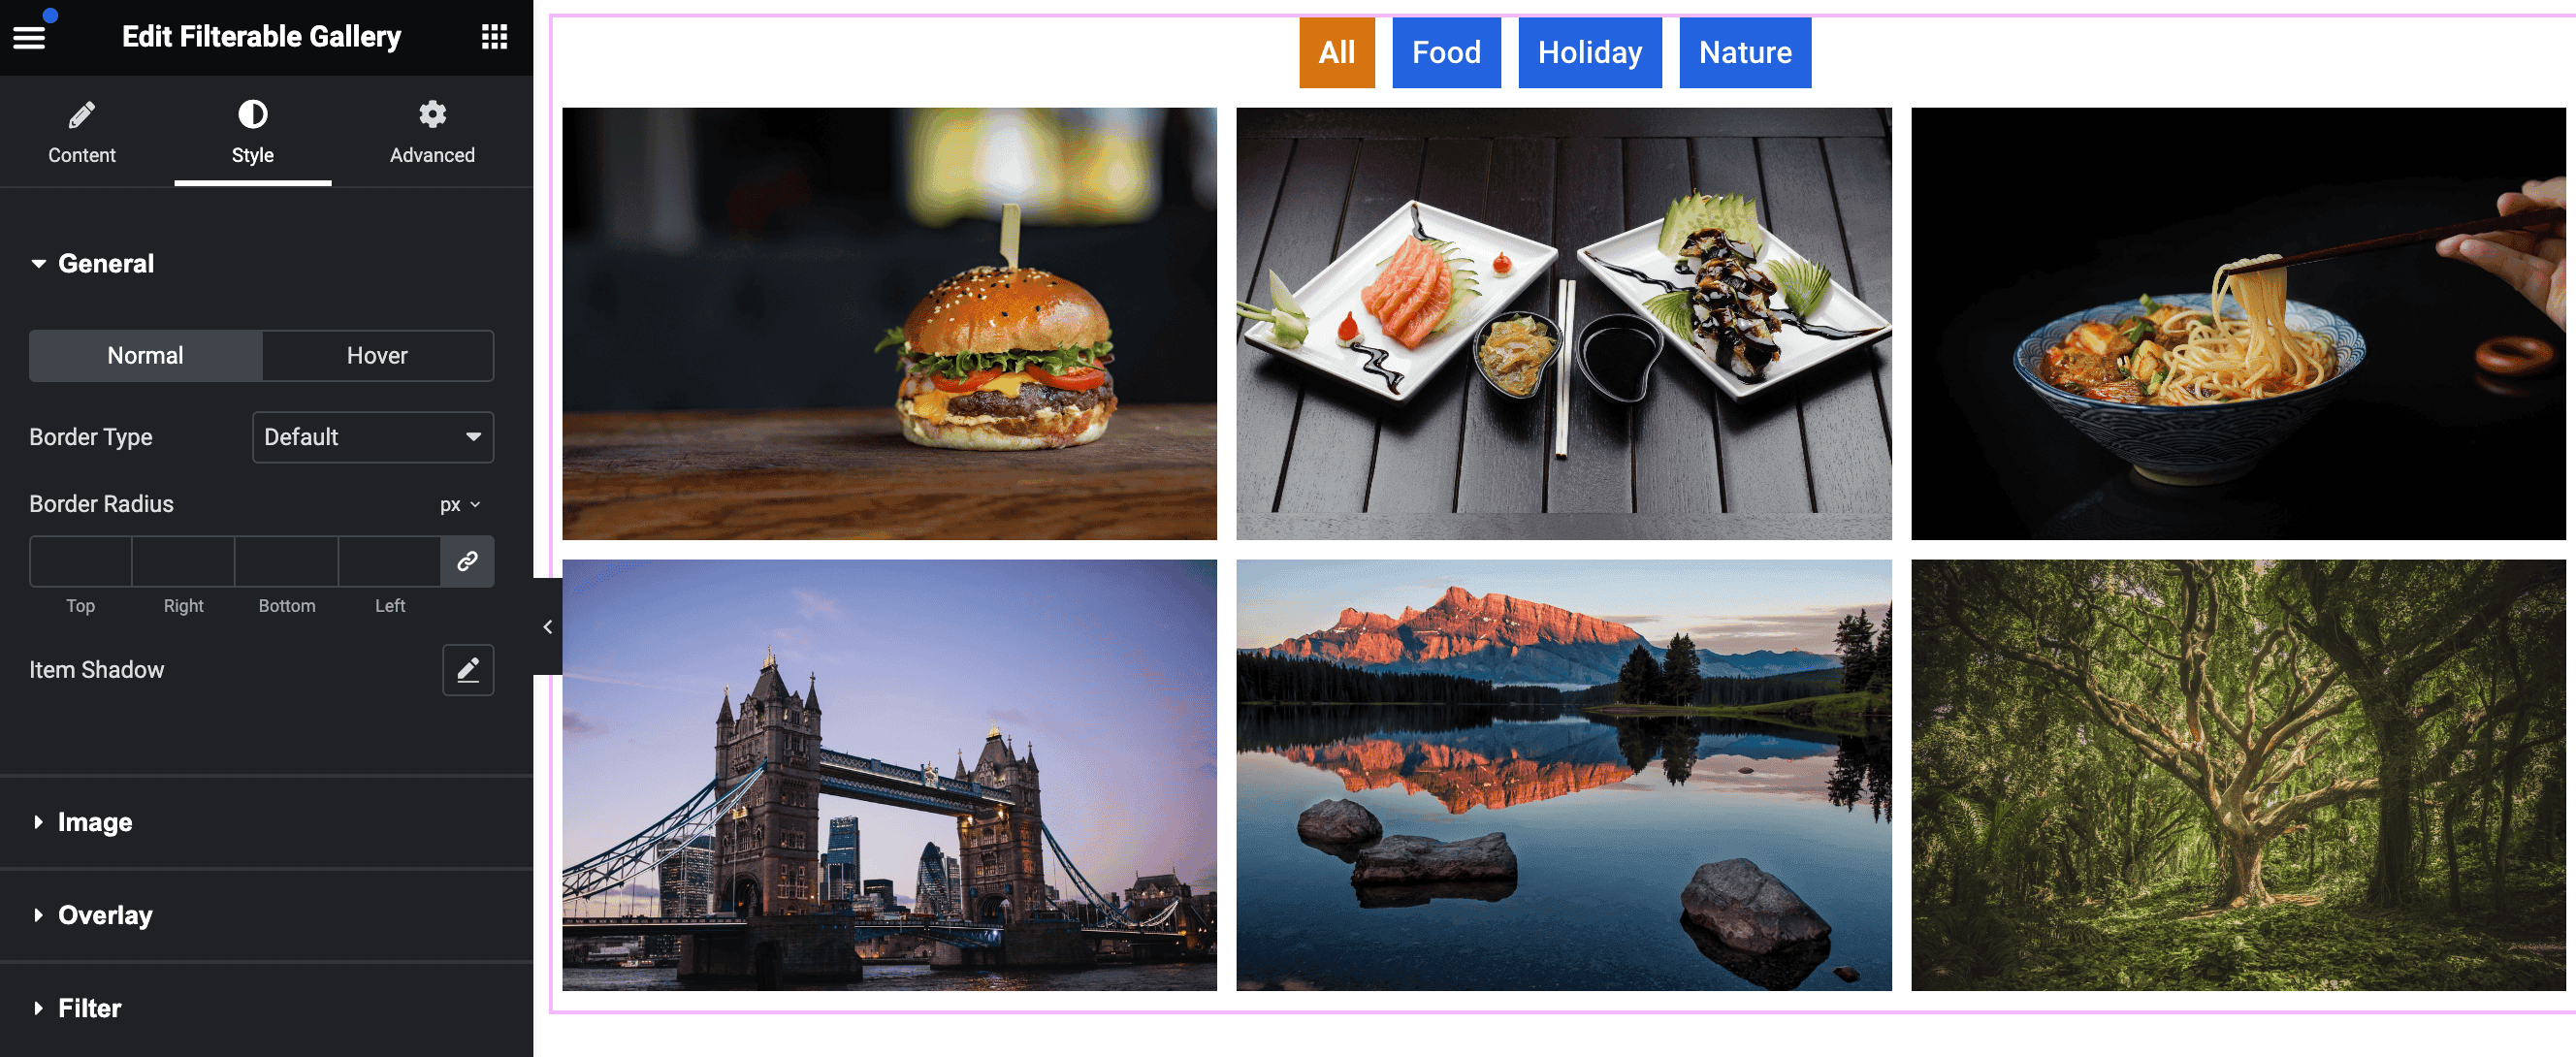
Step 4: Customizing Style Tab
Once you are done with adding images for the gallery, you can now style it up by clicking on the style tab. Here you will find various setting options to style each section of the gallery-like General, Image, Overlay, and Filters.
FAQs on Elementor Filterable Gallery
What is a filterable gallery in Elementor?
A filterable gallery is a visual content layout that allows users to sort or filter images by categories, making it easier to explore relevant content without reloading the page.
Can I add videos in the Filterable Gallery widget?
No, the Filterable Gallery widget is primarily designed for image galleries. For video support, you may need to use our Video Gallery widget in Elementor.
What is the Masonry Layout
Masonry layout allows images of varying sizes to be arranged seamlessly without fixed rows, creating a more dynamic and visually appealing grid.
How does the lightbox feature work in the gallery?
When enabled, clicking on an image opens it in a pop-up overlay, allowing users to view it in a larger format without leaving the page.
Can I customize the gallery filters style and alignment?
Yes, you can change the color, spacing, typography, hover effects, and alignment of the filter buttons in the Style tab under the “Filters” section.
Start Creating Filterable Gallery in Elementor
Creating a filterable gallery in Elementor is an easy yet powerful way to organize your images and deliver an engaging experience to visitors. With the Filterable Gallery widget from Elementor Addon Elements, you can showcase your portfolio, photo albums, or product images in a stylish and interactive layout—without any coding. Try it out and give your site a visual upgrade today!
Check out the Demo Setup of the Filterable Gallery widget.


is there a way to force the link button to download a file? I want it to download a linked PDF, rather than open it in a new browser tab.
This option is not available.