
Introduction
At times, in most of the E-Commerce sites, you must have come across a table that compares related product features. However, using a comparison table to compare different products on your page helps in better decision-making.
So, if you are looking for an easy solution to create a comparison between the number of items then Comparison Table is what you need.
Using the Comparison Table feature of our plugin Elementor Addon Elements serves many purposes. Like, compare products, sales, display schedules, and a lot more things.
Key Takeaways: What You’ll Learn
- How to set up and customize a responsive comparison table
- Ways to highlight pricing, discounts, and features
- Styling tips to match your site’s brand
- Real-world use cases for comparison tables
How to Create Comparison Table in Elementor
Step 1: Install & Activate Plugin
In order to use Comparison Table Widget, you have to first install and activate Elementor Addon Elements Plugin.
Step 2: Add Comparison Table widget
To create a comparison table with Elementor, open the Elementor editor. Then just drag and drop the Comparison Table widget.

Step 3: Content Tab Customization
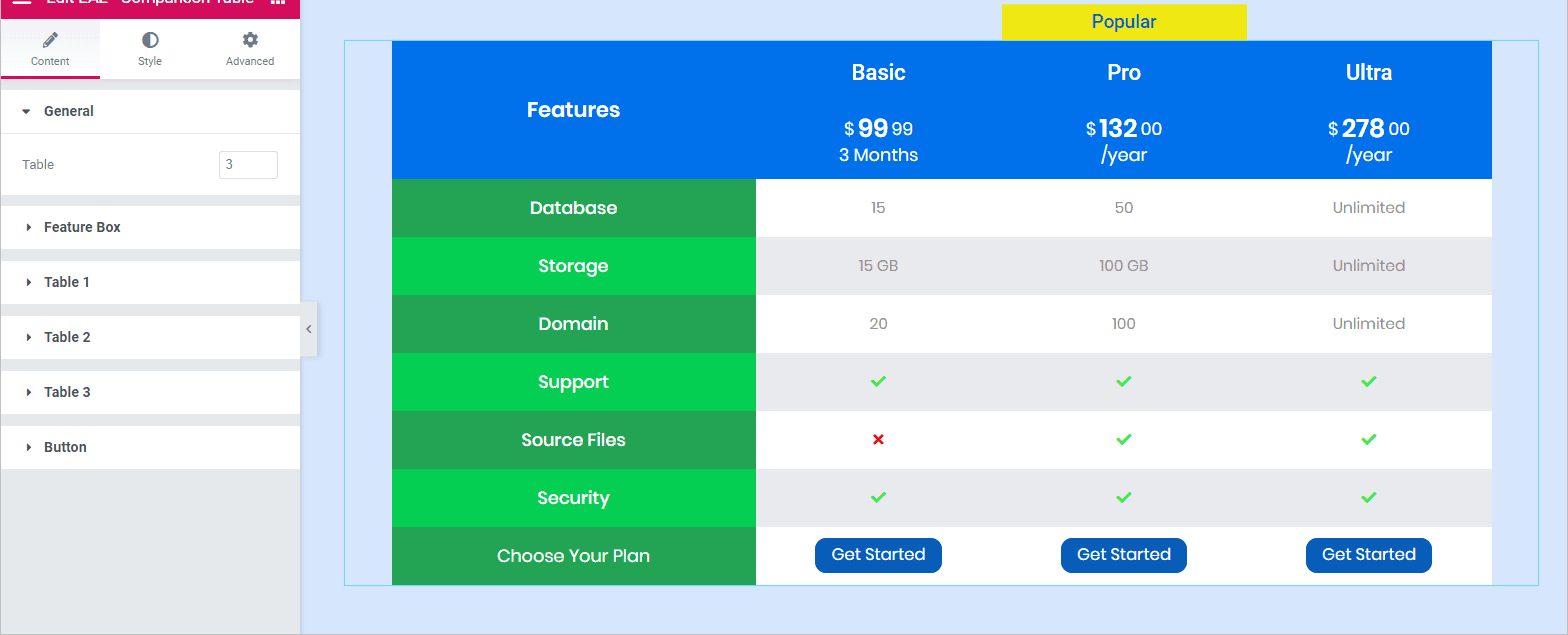
General Section: In this section, you have to specify the number of tables you want to display for comparison.
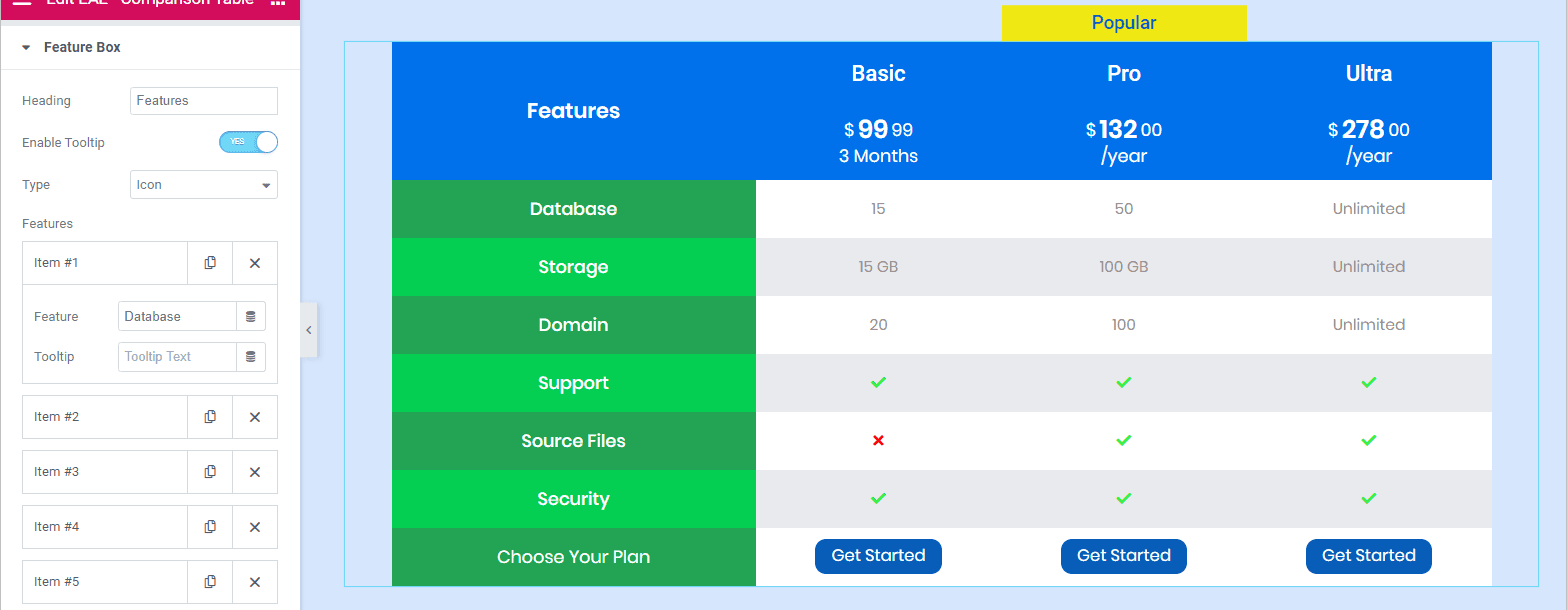
Feature Box: Here, you have to give heading to the feature box and then add feature items based on which you want to make a comparison. Enable the Tooltip option to display some additional information to be displayed with the items.
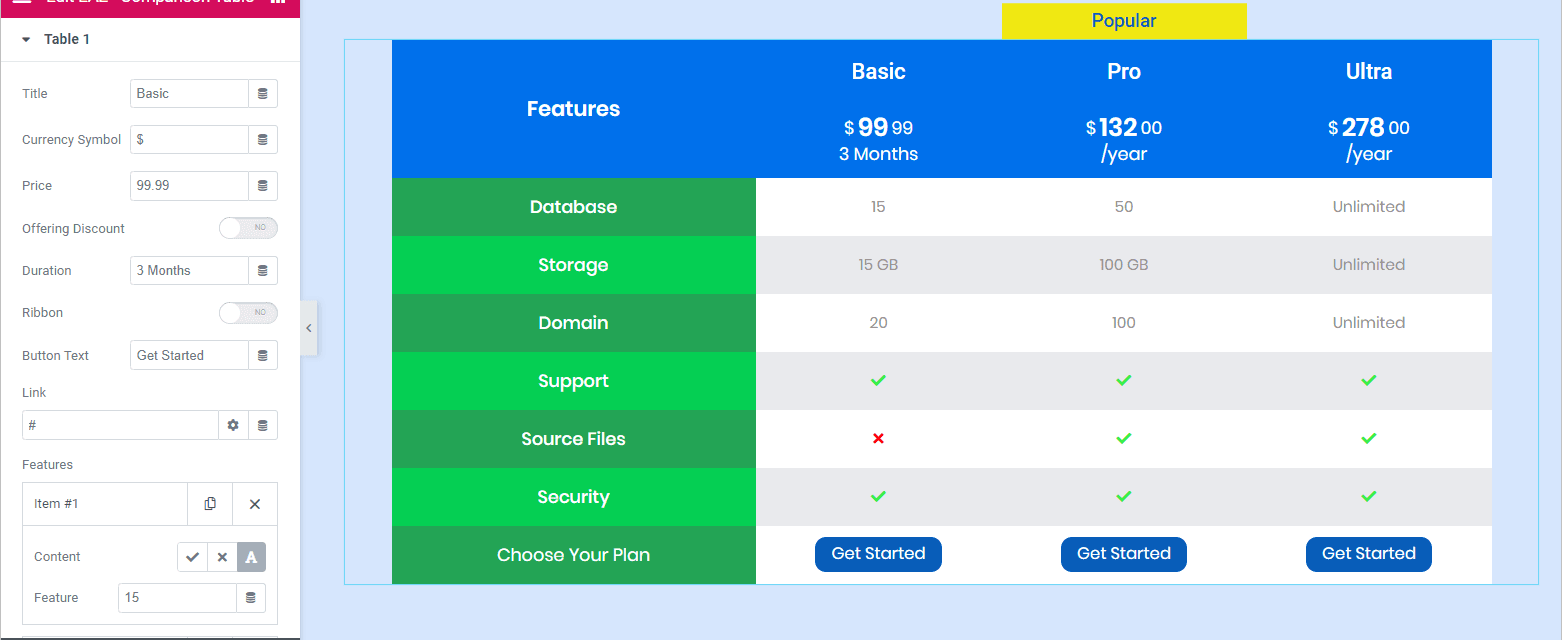
Customizing Individual Table: This section gives you various setting options to customize the table content. Here you can also give the title to the table header. Modify the currency symbol and set the price of a package accordingly.
You can also use the toggle to enable or disable the discount option. If you enable this option, you can set the discounted price of the package accordingly.
To display, a small slant highlighted text in the header enable the ribbon option. After enabling it, you will see a drop-down menu to change the ribbon style and the title of the ribbon.
You can modify the name and assign a link to the Call To Action button. After that add different features of the package.
Step 4: Style Tab Customization
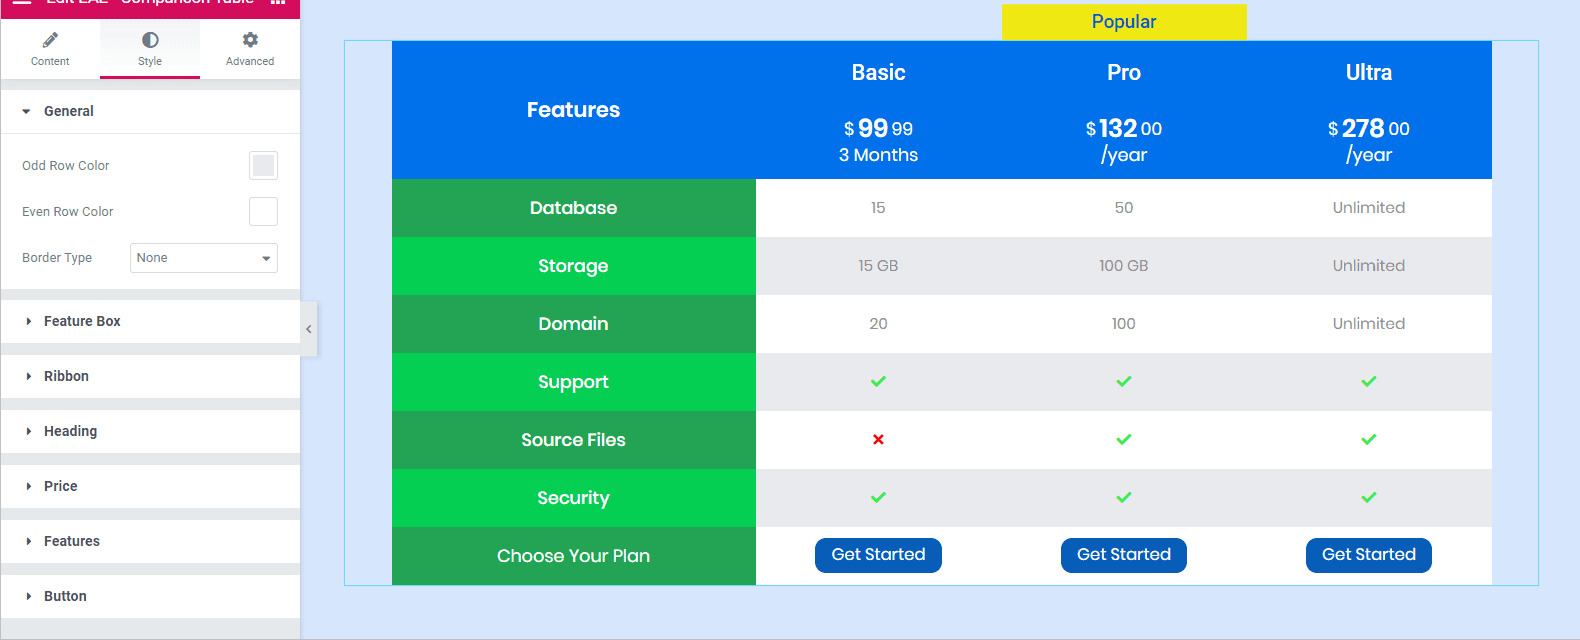
After you are done with setting up the layout of the table, you can now style your table by clicking on the Style tab.
Therefore, under the General section, you can give a different background color to the odd and even rows. Add a border to the table from the border style option.
Similarly, there are more styling options available to style each individual section, like Feature Box, Ribbon, Heading, Price, Features, and Button section.
FAQs on Elementor Comparison Table
What is a Elementor comparison table used for?
A comparison table helps visitors compare products, services, or plans side-by-side to make informed choices.
How many items can I compare in one table?
There’s no hard limit—you can add as many columns or feature rows as needed.
What’s the difference between Comparison Table and Pricing Table?
Comparison tables focus on comparing features across multiple items, while pricing tables are more about showcasing a single plan’s price and features.
How do I highlight the best plan in the comparison table?
Use the “Ribbon” features in the widget to draw attention to your most recommended or popular plan.
Is it possible to link the CTA buttons to external checkout pages?
Yes, you can add any internal or external URL to the button, allowing users to go directly to product or checkout pages.
Conclusion
Creating an effective comparison table in Elementor doesn’t have to be difficult. With the Comparison Table widget, you can build professional-looking tables that help visitors quickly understand their options—and make smarter choices. Give it a try and enhance your site’s usability and conversion rates today!
Check out the Demo setup for Comparison Table widget.


Not being able to remove the Features column seems to be a serious limitation
This feature is not available. You can try the Data Table widget for this.
I see where you can change the background for secondary row under the feature box but how do you do this for the prices? In your demo, under each pricing the options for Storage, Support, and Security have a grey background while the others are white. I don’t see a setting for that anywhere.
Nevermind, I found it under General Settings.