
Introduction
Have you ever thought of using a single widget to display multiple contents on your website that changes automatically? If yes, then you can achieve this by using the Info Circle widget of Elementor Addon Elements.
This widget serves multiple purposes since you can add multiple items inside a single widget. Presenting your content inside a circle adds an interactive element to your website, as the content changes automatically when you hover over the content icon.
Key Takeaways: What You’ll Learn
- How to install and activate the Info Circle widget in Elementor
- How to customize content, icons, and animation styles
- Style Info Circles to match your brand
What is Info Circle in Elementor
An Info Circle is an animated content display layout where multiple pieces of content rotate around a circular layout. Each icon or segment represents a content block, and users can interact with them through hover or auto-switching animations. It’s great for:
- Creating modern infographics
- Showing multi-step processes
- Highlighting services or features
How to Create an Info Circle in Elementor (Step-by-Step)
Step 1: Install & Activate Plugin
To use Info Circle widget, you have to first install and activate Elementor Addon Elements Plugin.
Step 2: Add Info Circle widget
So to create an Info Circle in Elementor, first, add a page or a template and edit it with Elementor. Then, drag and drop the Info Circle widget in the Elementor editor.

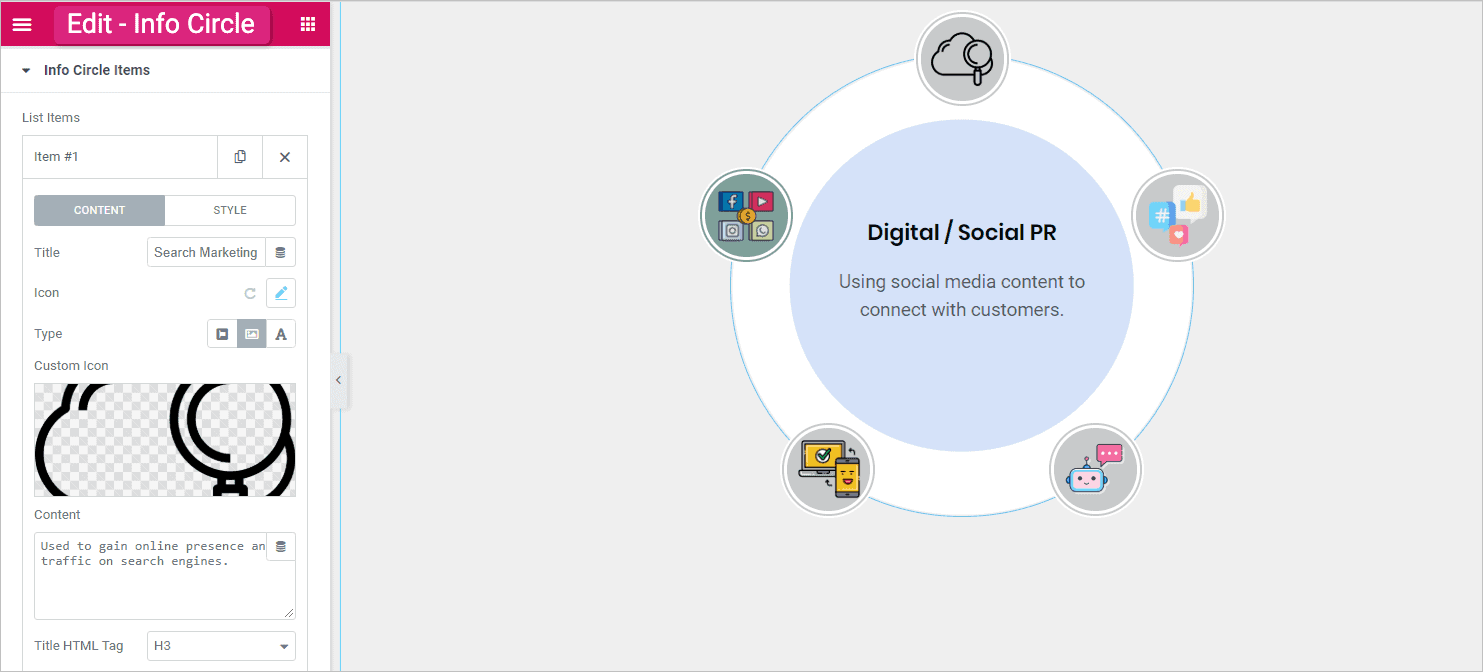
Step 3: Content Tab Customization
Skins Section: In the skin section, you can design the layout of the circle. You can select a layout from the pre-built custom skins. Here you can also set a global icon for all the items of the circle. More settings are available to customize the shape of the icon.

Info Circle Items: Under this section, you will see a stack of item boxes. By clicking on these boxes, you can add content information for each item of the circle.
Therefore, by enabling the options in the Style tab, you can customize the styling of individual item content and set a different icon style for each item of the circle.
You can also add more items to the circle by clicking on the Add Item button.
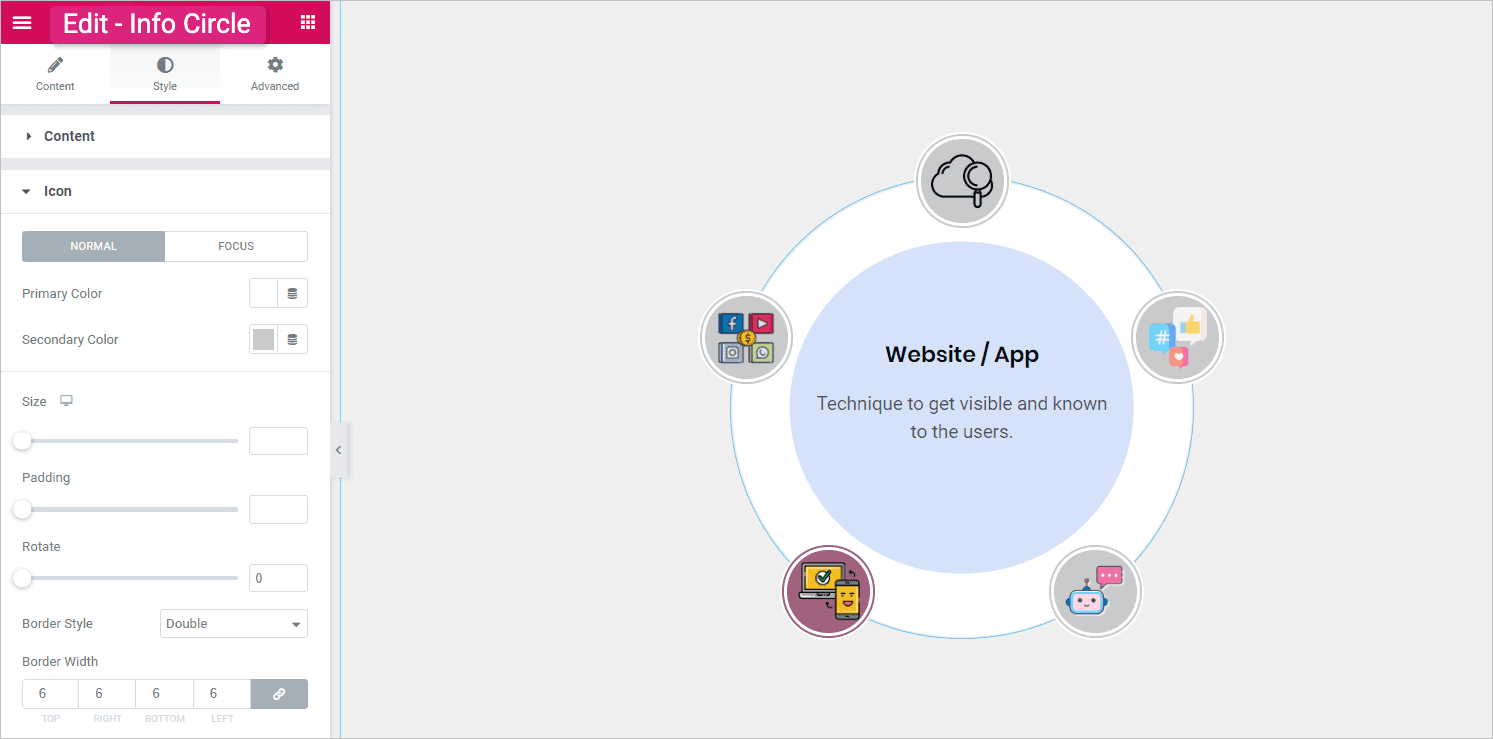
Step 4: Style Your Info Circle
After setting up the layout of the circle, click on the Style tab to set the styling of the widget.
Various style options are available to customize the styling of the Content and Icon of the circle.
FAQs on Info Circle in Elementor
Can I use different icons for each item in the Info Circle?
Yes, each item can have a unique icon with custom styling.
Is the Info Circle responsive on mobile devices?
Yes, the widget is responsive and includes styling options for different devices.
Is this feature available in the free version of Elementor?
The Info Circle is part of Elementor Addon Elements, which requires separate installation (free).
Can I use images instead of icons in the Info Circle?
No, the widget allows you to insert custom icons or text.
Conclusion
The Info Circle widget is a smart and stylish way to engage your audience with interactive content layouts. Whether you’re showcasing services, steps, or stats, this widget helps you communicate visually — without touching a line of code. Try it today and elevate your Elementor designs effortlessly.
View the demo setup of the Info Circle.


Nice…