
Any website owner’s primary focus is always to attract visitors and ensure that they have a longer site stay. When visitors browse any website, they land on the main website page and decide whether to stay and navigate it further.
Keeping in mind the visitor’s point of view, the website should be designed to instantly attract and grab visitors ‘ attention. One of the most effective ways to draw attention is to add an Image Slider to your website’s Home Page. When you use the sliders to showcase images and other useful information, they are immediately highlighted in front of the visitors and even look appealing and fascinate them.
However, now you would be wondering how I can add a slider to my WordPress website. So, you need not worry; this tutorial is exactly what you need.
In this tutorial, we will go through the step-by-step process of adding a slider to a WordPress website without writing a single line of code.
Elementor Addon Elements plugin lets you create Thumbnail Sliders in Elementor.
Key Takeaways
- Learn how to attract visitor attention using a thumbnail slider on your homepage.
- Discover what a Thumbnail Slider is and how it enhances visual appeal.
- Read the step-by-step guide to create a Thumbnail Slider using Elementor without any coding.
- Explore the different settings to add, customize, and style your Thumbnail Slider for a better look and user experience.
What is Thumbnail Slider in Elementor
The Thumbnail Slider widget allows you to create an image slider with thumbnails. You can add slider images along with the content and custom thumbnails.
You know the best part of using this widget is that you can create carousel sliders for both slide images and thumbnails.
Before going further, here is the demo setup of what we are going to achieve this:
How to Add Thumbnail Slider in Elementor
Now, let’s dive into the steps of creating a Thumbnail Slider in Elementor editor.
Step 1: Install and Activate Elementor Addon Elements Plugin
To use the Thumbnail Slider Widget, you need to install and activate the Elementor Addon Elements Plugin.
Step 2: Open Elementor Page Builder
Edit the page using the Elementor Page Builder plugin. Then, in the widget panel, look for the Thumbnail Slider option under the Elementor Addon Elements section. Drag and Drop the Thumbnail Slider widget into the section/column.
Step 3: Set up the Slider
Under the Thumbnail Slider widget, you will get three settings tabs: Slides, Thumbnails, and Slider Options.
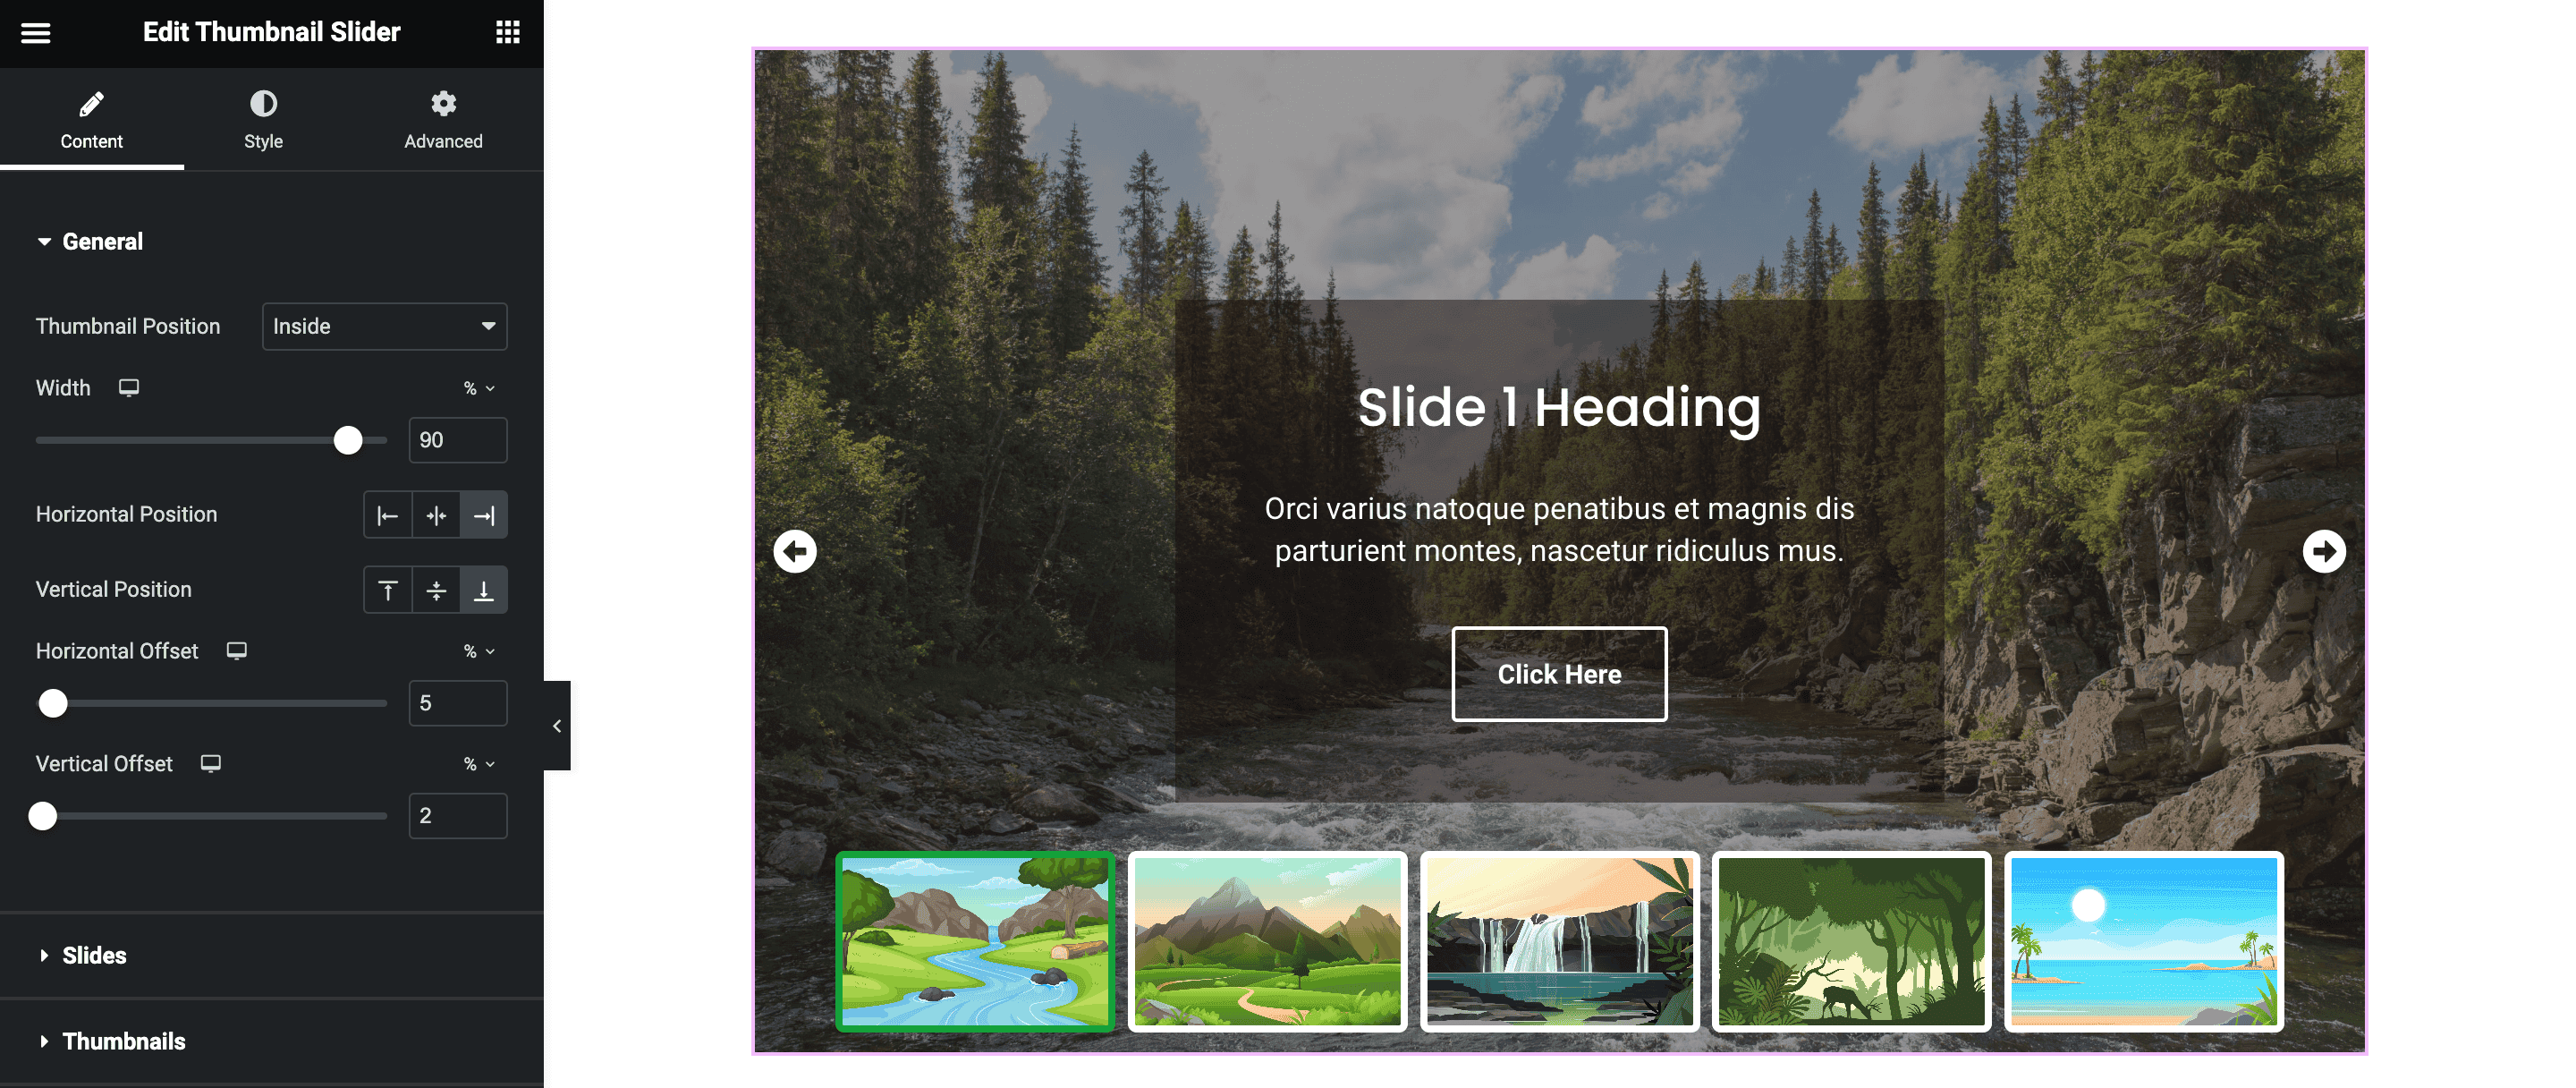
General
In the General settings, choose where you want the thumbnail to appear. You can pick whether it should be at the top, bottom, or inside(only for pro), a slider. After that, decide how wide you want the slider to be. Then, figure out where you want the thumbnail to be placed horizontally and vertically and how far away from its original position it should be.
Slides
Under the slides option, you will first see a sack of item boxes. By clicking on each box, you can add slides to your slider. By default, three slides are created; you can add more slides by clicking on the Add Item button.
Click on the slide tab to add images to the sliders. Next, under the Slide section, you will get three setting options to add Image, Content, and Style to the slides. You can also add a different thumbnail image by enabling the Custom Thumbnail Image option. Next, there are options to adjust the slider’s height, image position, and image size and apply overlay on images.

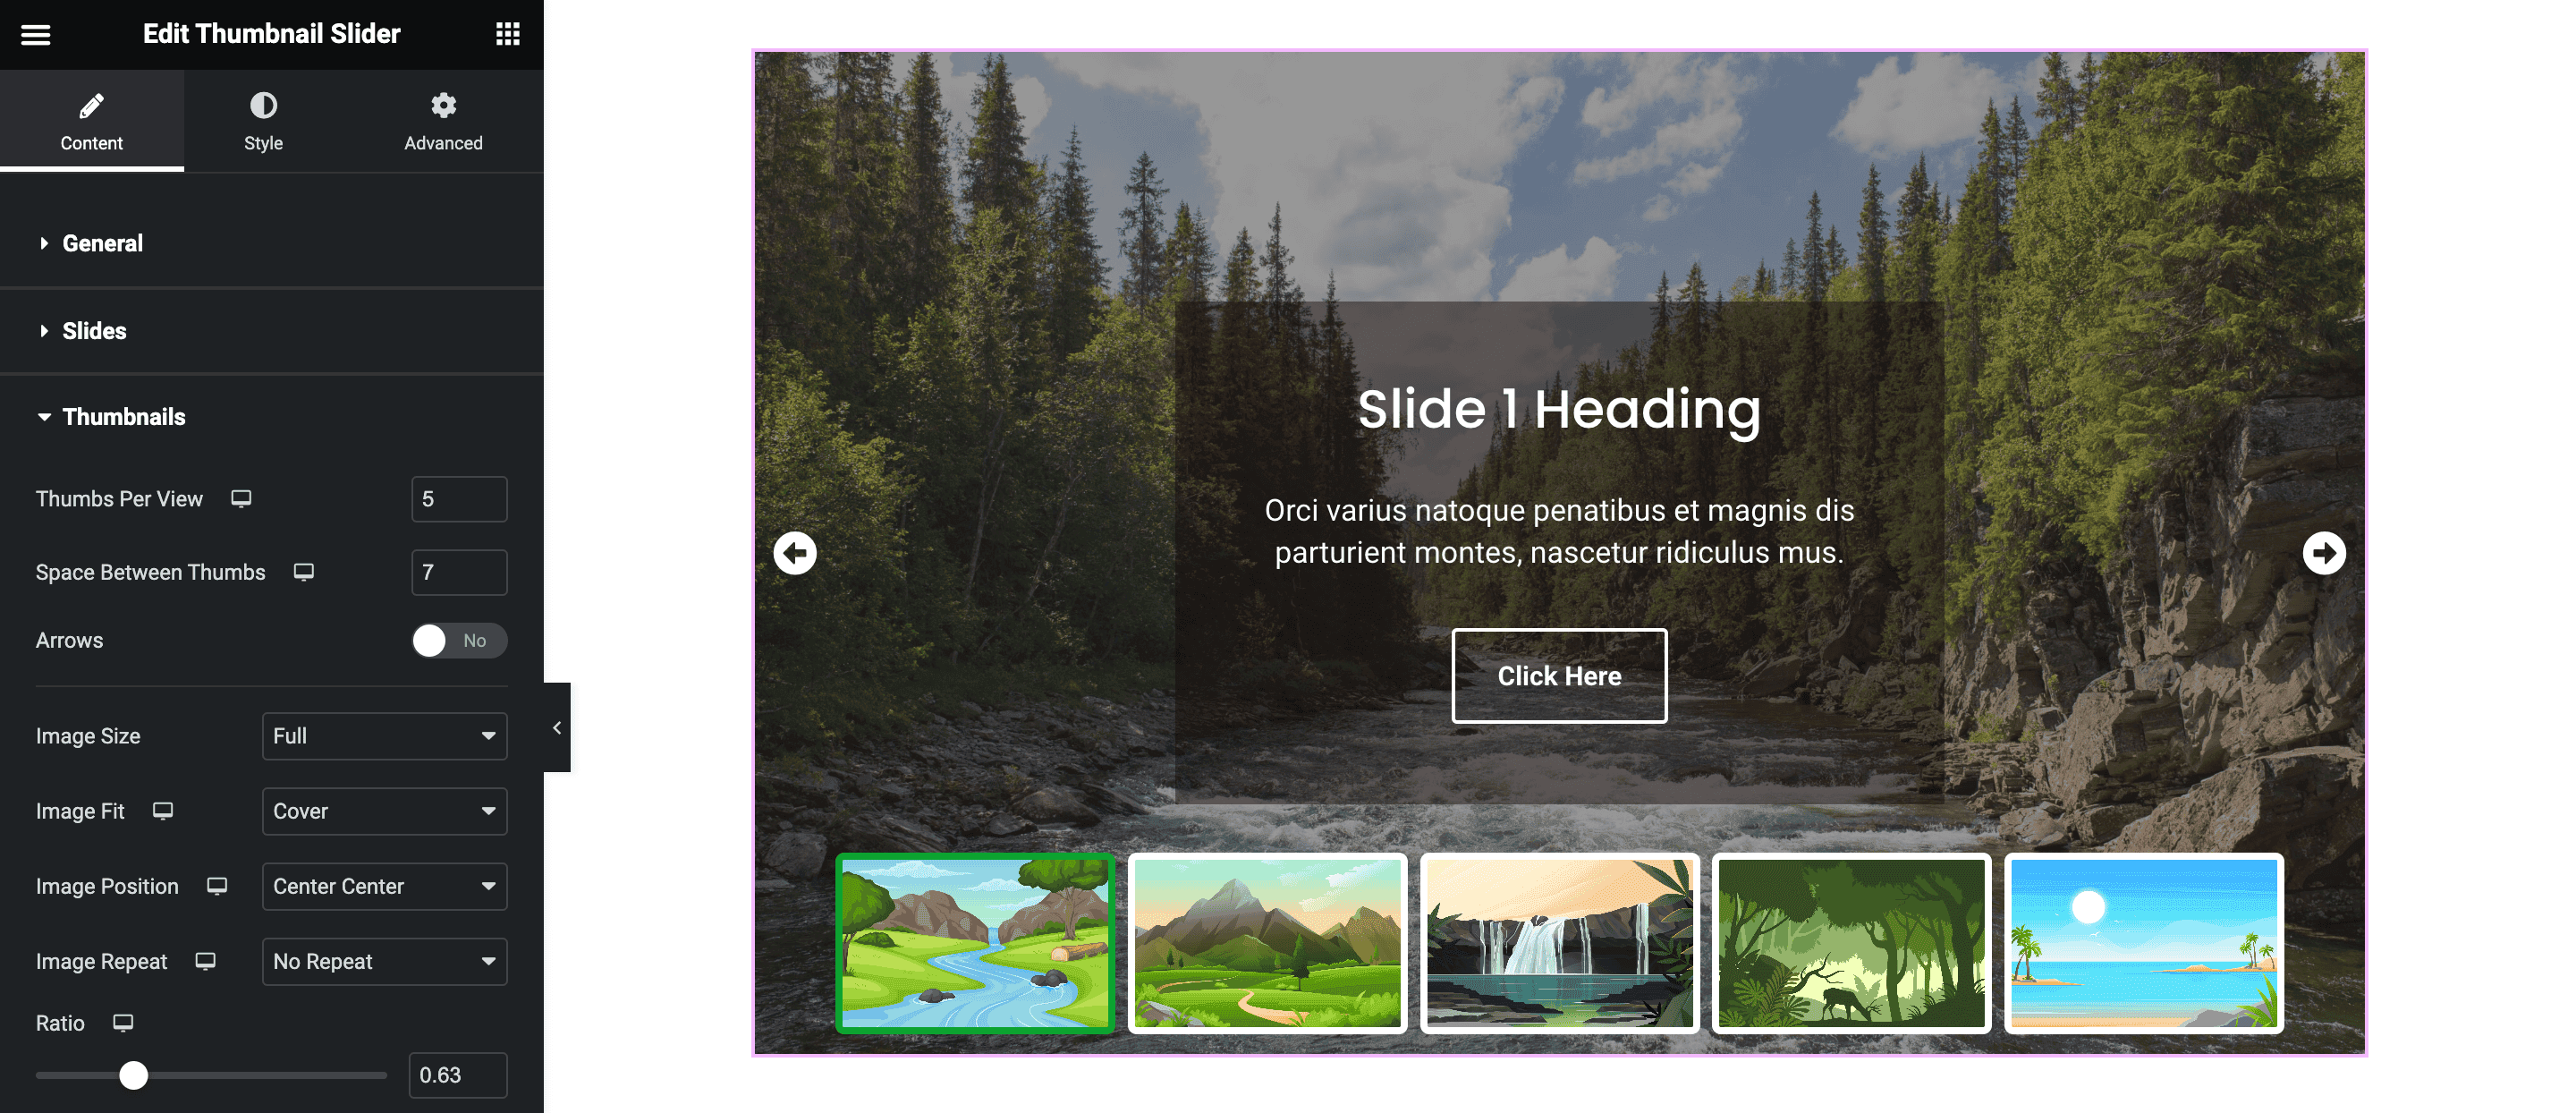
Thumbnails
The thumbnail option gives you the feature to configure the Thumbnails section of the slider. Set the settings related to the thumbnail, like Space Between Thumbnails and Thumbs per view.
Enable the Arrow option to add navigational arrows to the Thumbnail Slider. Next, set the thumbnails’ position to display it on the top or bottom of the slider. Adjust the thumbnail’s height, thumbnail position, and thumbnail size and ratio.
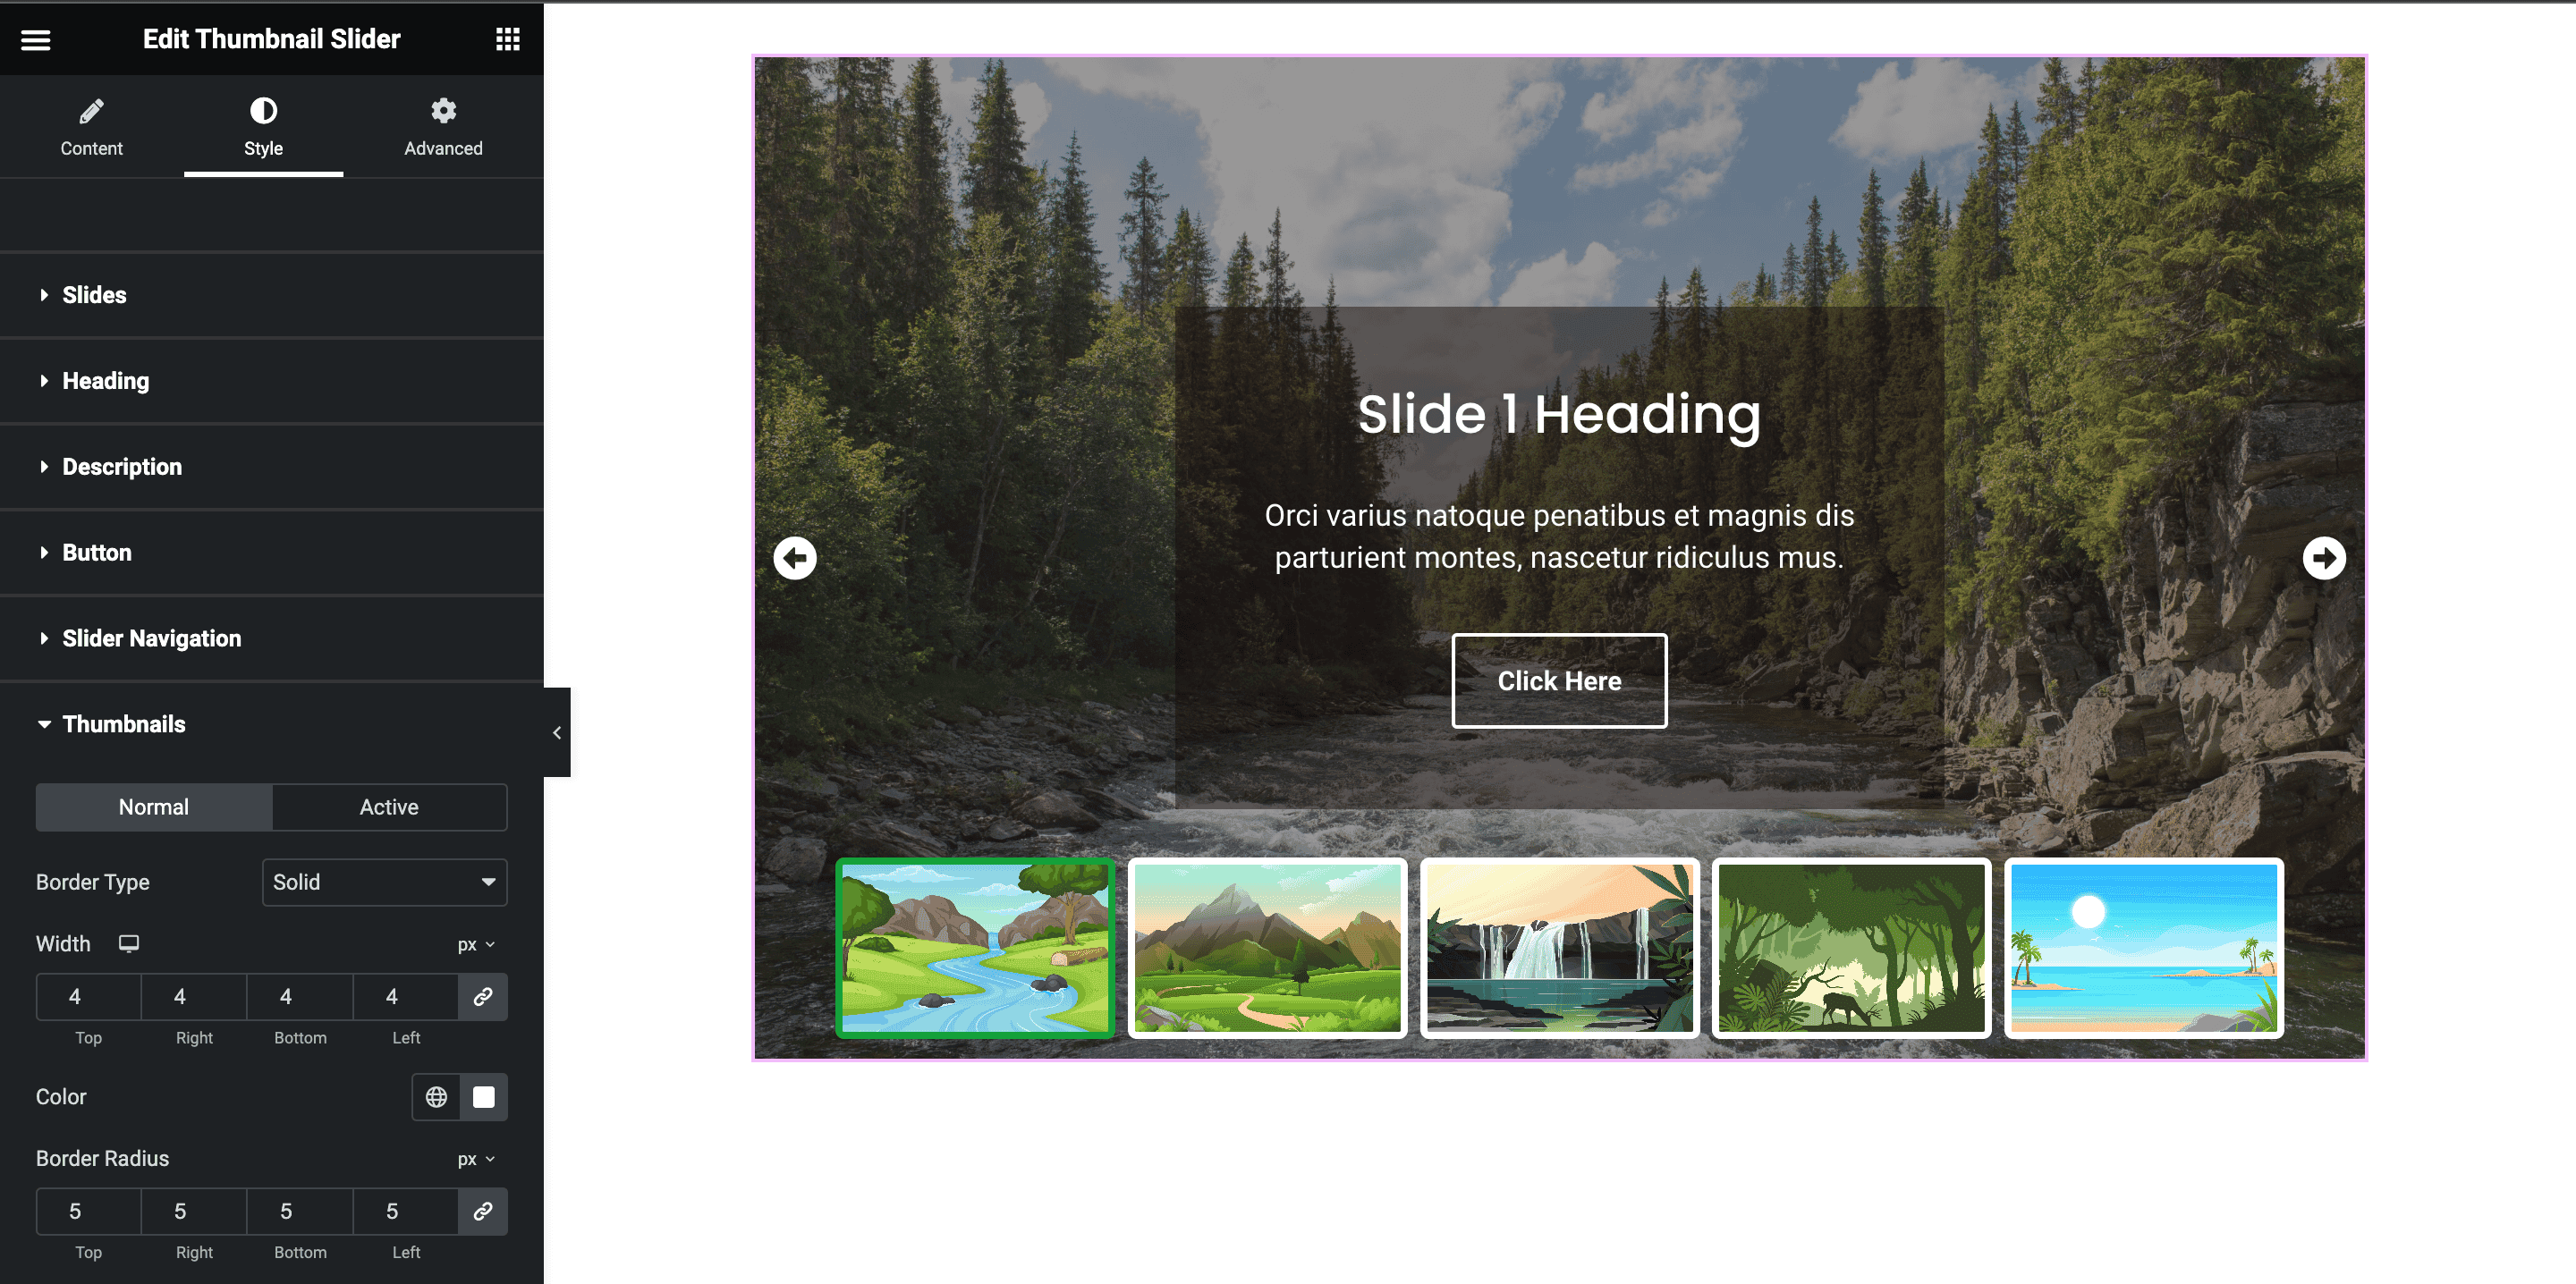
Step 4: Styling the Thumbnail Slider
Once you have added images to the slider and configured it, you can style it under the style tab.
Here, under the Style option, you can apply styling to each element of the slider. Apply styling to the Slides, Heading, Description, Button, Slider Navigation, and Thumbnails. You can also set the border radius around the Thumbnails.
Also, check out the Demo of the Thumbnail Slider.
Start Creating a Thumbnail Slider in Elementor
Adding an image slider with thumbnails is a great way to make your homepage more interactive and engaging. With the Elementor Addon Elements plugin, you can easily set up and style a Thumbnail Slider without writing a single line of code. Follow the steps in this guide, and you’ll have a beautiful slider ready to impress your visitors.
FAQs on Creating a Thumbnail Slider in Elementor
Do I need to buy Elementor Pro to use the Thumbnail Slider widget?
No, the Thumbnail Slider widget is available with the Elementor Addon Elements plugin, and it works with the free version of Elementor.
Can I add both images and text to the slider?
Yes, you can add images, headings, descriptions, and even buttons to your slides.
How can I use custom thumbnails instead of the main slide image?
You can enable the “Custom Thumbnail Image” option to upload a different image for each thumbnail.
Is it Possible to style the slider to match my website design?
Yes, you can fully customize the slider’s colors, layout, spacing, and more using the Style tab.
Can I change the position of the thumbnails?
Yes, you can display thumbnails at the top, bottom, or even inside the slider.


