
Introduction
Want to showcase your product or service packages clearly? A well-designed pricing table helps your customers compare features and choose the plan that fits their needs, boosting conversions and user trust.
In this tutorial, you’ll learn how to build an effective price table in Elementor using the Price Table widget—all without writing a single line of code.
Key Takeaways: What You’ll Learn
- Why price tables improve conversions and user experience
- How to customize each section of the price table (Header, Price, Features, CTA)
- How to style the price table to match your brand
- Live demo of a finished pricing table
Why Use a Price Table in Elementor?
- Helps users quickly compare pricing tiers or packages
- Increases clarity and reduces decision-making friction
- Boosts conversions by highlighting featured plans
- Enhances visual appeal and professionalism
- Makes your website look more trustworthy
Steps to Create a Price Table in Elementor
Step 1: Install & Activate Plugins
In order to use Price Table Widget, you have to first install and activate Elementor Addon Elements Plugin.
Step 2: Add Price Table widget
First, create a page or a template and edit the page with Elementor. Then just drag and drop the widget in Elementor editor.

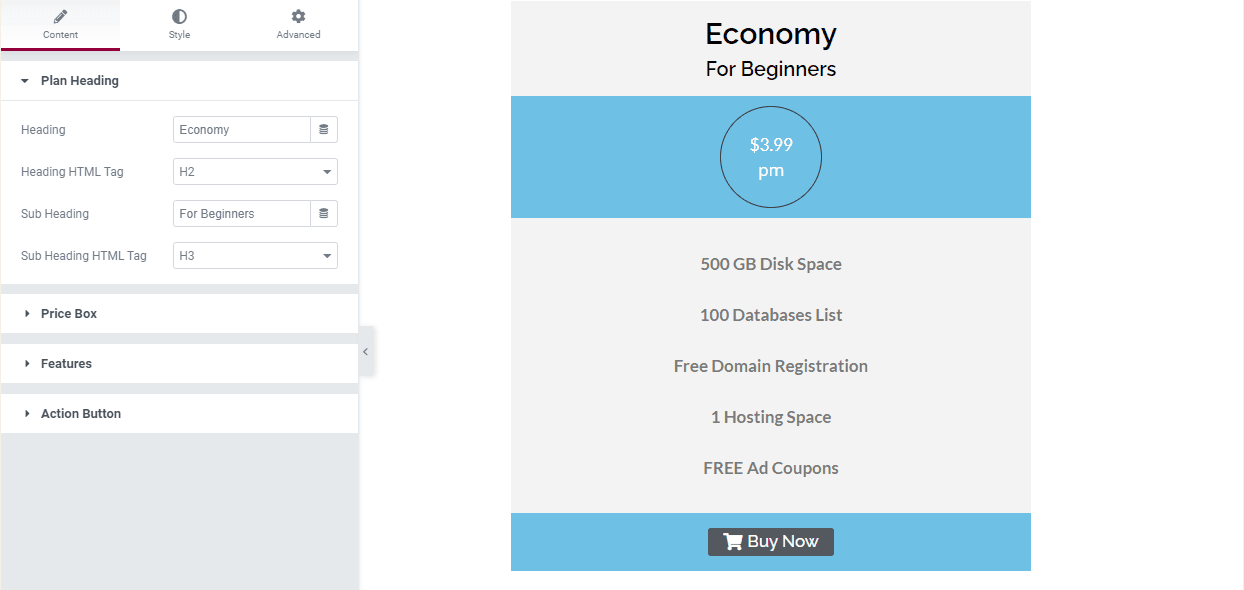
Step 3: Content Tab Customization
Plan Heading Section: This is the header section of the table. Here, you have to give a heading and a subheading to the table.
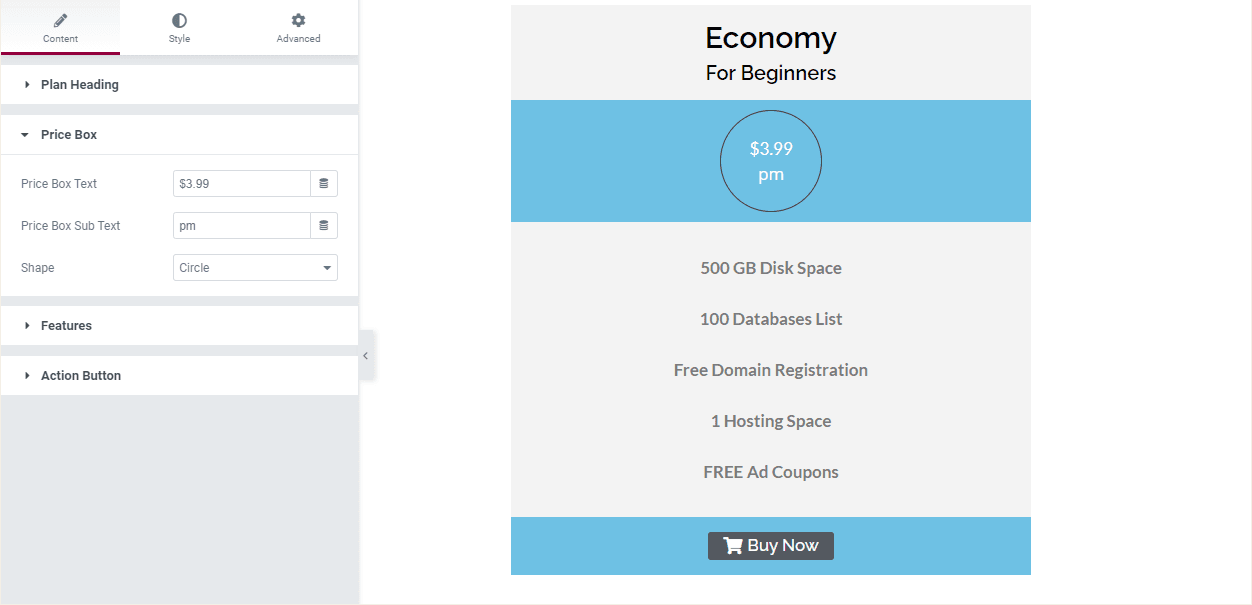
Price Box Section: In this section, you can display the cost of the package. Moreover, if you wish to display the price inside a box, you can select the shape of the box like a circle or a square.
Features Section: In the Feature section, you can enter the features of the package you are offering. Enter the details of the package individually. Here you will see a sack of item boxes where you can enter the features one after the other.

Action Button Section: This is the last section of the pricing table. Here you can give a text to the call to the action button. You can also modify the icon position and spacing.

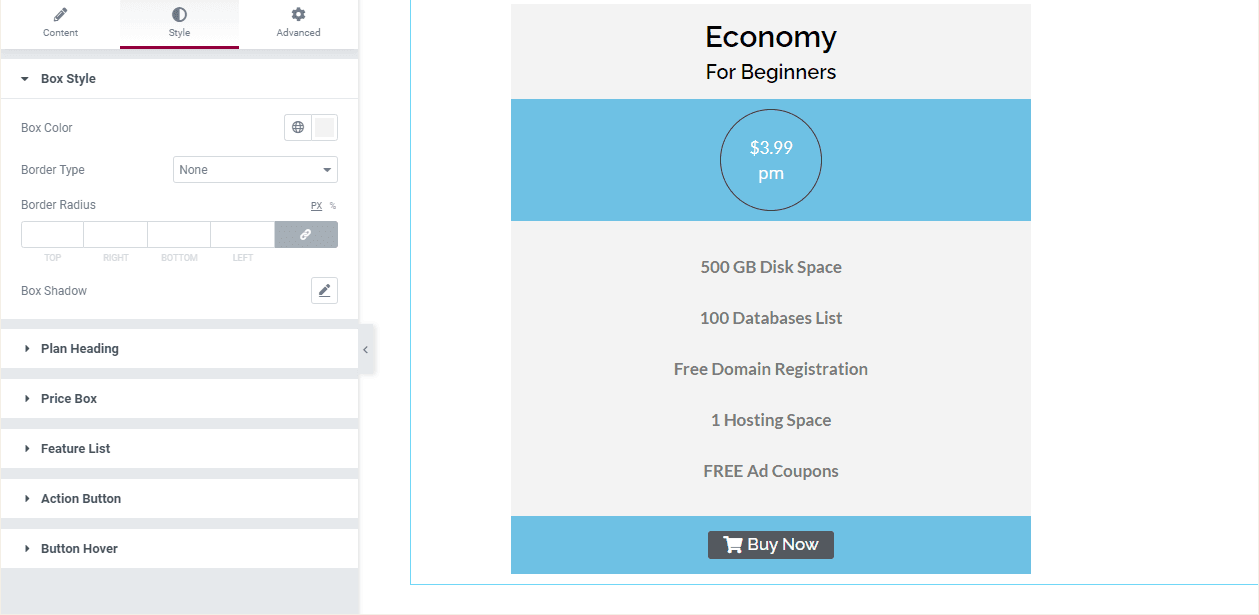
Step 4: Style Tab Customization
After setting up the layout of the price table, you can style it under the Style tab.
Here, under the Box Style option, you can customize the table by specifying the background color and setting border and border-radius parameters.
Similarly, there are more styling options available to style each individual section like Heading, Price Box, Feature List, Action Button, and Button Hover.
If you’re looking to go beyond the basic pricing table and want more design flexibility and interactivity, the Advanced Price Table widget in Elementor Addon Elements has you covered.
This widget offers several advanced features like highlighting a specific plan, adding badges, custom icon for each plan, advanced hover effects, and more to create highly customized and visually striking pricing table.
FAQs on Elementor Price Table
Do I need Elementor Pro to create a pricing table?
No, you can use the free version of Elementor along with the Elementor Addon Elements plugin to create a pricing table.
Can I duplicate and reuse pricing tables on other pages?
Yes, once you’ve created a pricing table, you can save it as a template and reuse it across your website using Elementor’s “Save as Template” feature.
Is the pricing table mobile responsive?
Yes, the Price Table widget is responsive by default. You can further customize its appearance using Elementor’s responsive controls.
Can I link each pricing table to a separate checkout or page?
Yes, each call-to-action button can be linked to a different URL, product page, or checkout form.
Final Thoughts
Whether you’re running a SaaS business, selling courses, or offering service packages, a clear and visually appealing price table can make a huge difference in how users perceive your offerings.
With Elementor and the Price Table widget, you can create fully customized pricing tables in just a few clicks—no coding required. Try it out and turn your visitors into paying customers!
Check out the Demo Setup of the Price Table widget in Elementor.


